Motor Config
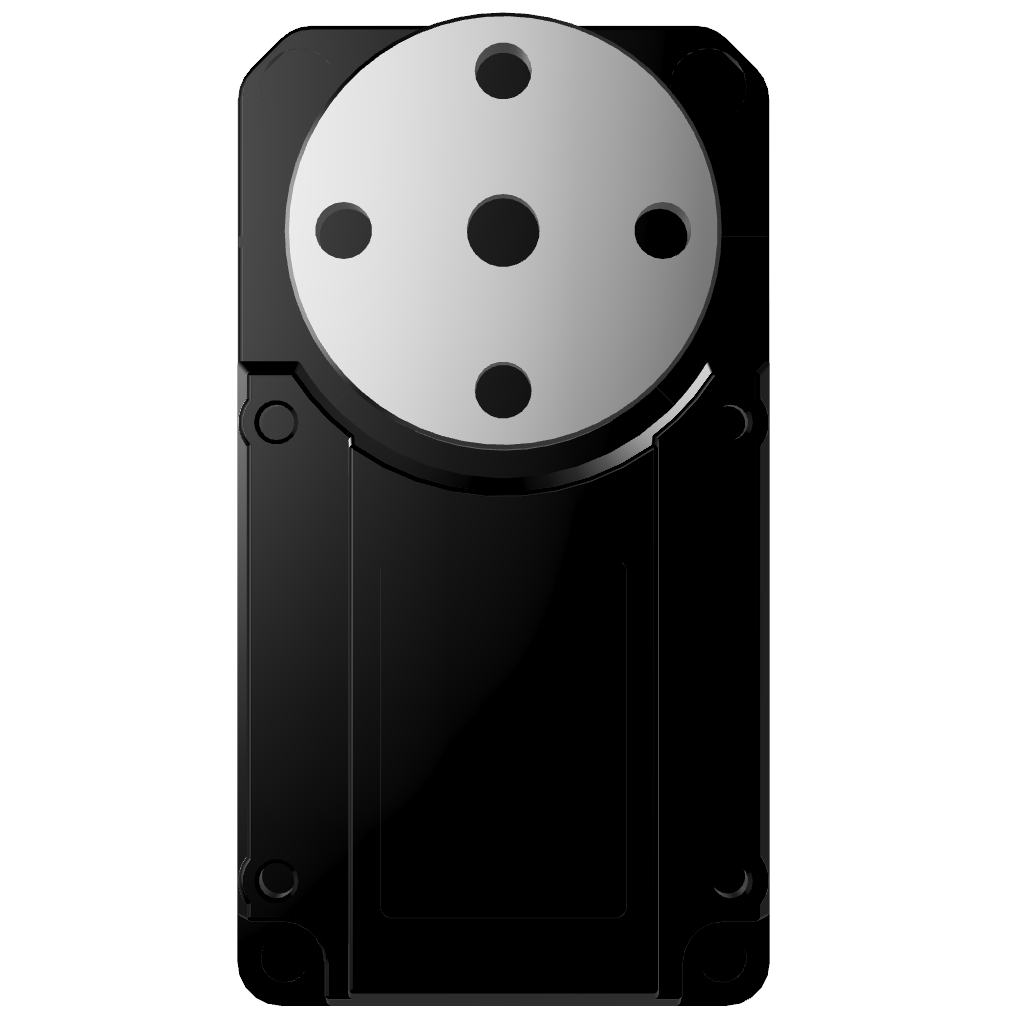
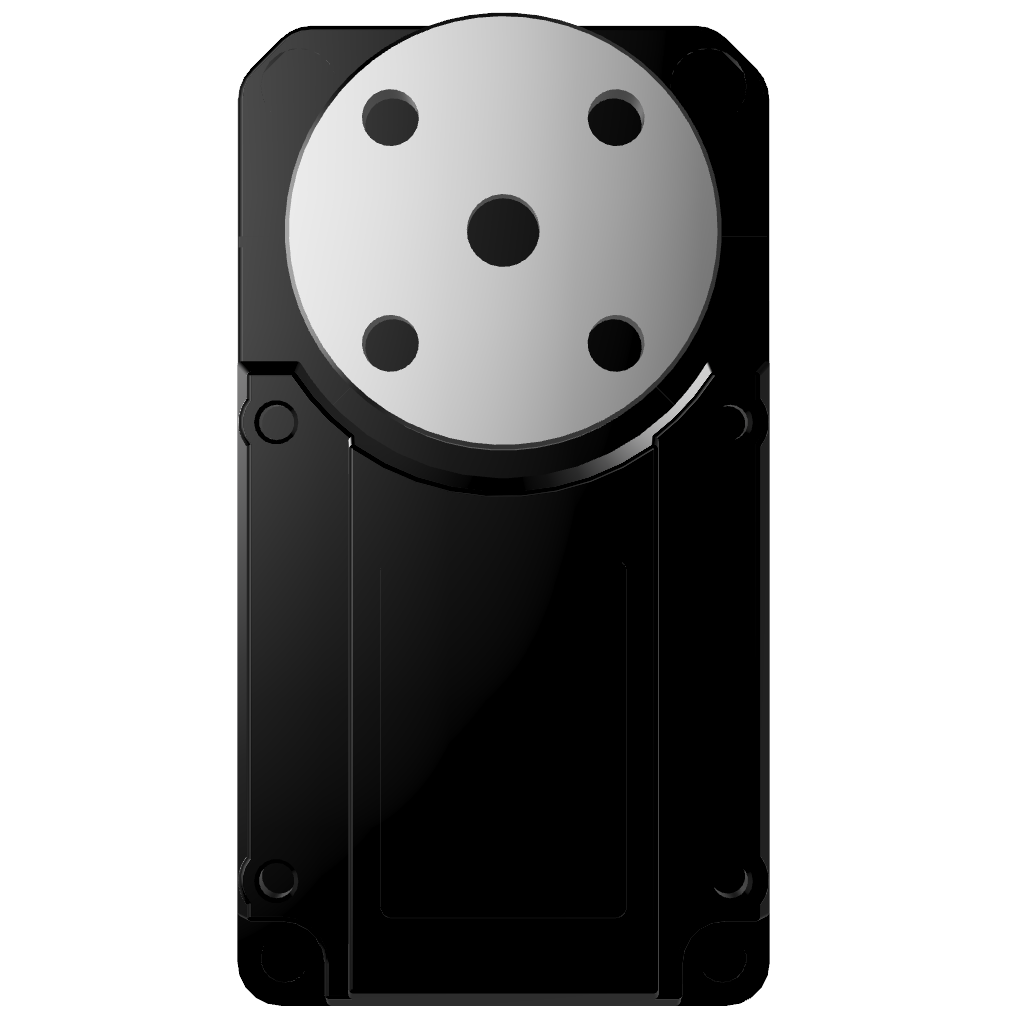
⚠️ IMPORTANT: Make sure to install servo Horns in correct orientations only after motor config (This is to make sure the actual zero point of the servo encoder is in the middle so that we can rotate about 180 degrees in either direction.)
📝 NOTE: Lerobot installation required. For instructions, refer to Lerobot Setup.
Motor Configuration Video
1. Find the USB ports associated to Follower arm
a. Run the script to find port
To find the port for each bus servo adapter, run the utility script:
python lerobot/find_port.py
b. Example outputs
Example output when identifying the arm's port (e.g., /dev/tty.usbmodem575E0031751 on Mac, or possibly /dev/ttyACM0 on Linux):
Finding all available ports for the MotorBus.
['/dev/tty.usbmodem575E0032081', '/dev/tty.usbmodem575E0031751']
Remove the USB cable from your MotorsBus and press Enter when done.

[...Disconnect corresponding leader or follower arm and press Enter...]

The port of this MotorsBus is /dev/tty.usbmodem575E0032081
Reconnect the USB cable.
c. Troubleshooting
On Linux, you might need to give access to the USB ports by running:
sudo chmod 666 /dev/ttyACM0
sudo chmod 666 /dev/ttyACM1
2. Motor Config
a. Set the motors ids and baudrates
Each motor is identified by a unique id on the bus. When brand new, motors usually come with a default id of 1. For the communication to work properly between the motors and the controller, we first need to set a unique, different id to each motor. Additionally, the speed at which data is transmitted on the bus is determined by the baudrate. In order to talk to each other, the controller and all the motors need to be configured with the same baudrate.
To that end, we first need to connect to each motor individually with the controller in order to set these. Since we will write these parameters in the non-volatile section of the motors’ internal memory (EEPROM), we’ll only need to do this once.
If you are repurposing motors from another robot, you will probably also need to perform this step as the ids and baudrate likely won’t match.
Connect the usb cable from your computer and the power supply to the follower arm's controller board. Then, run the following command or run the API example with the port you got from the previous step. You'll also need to give your leader arm a name with the id parameter.
For a visual reference on how to setup the motorsplease refer to the attached video above.
python -m lerobot.setup_motors \
    --robot.type=giraffe_follower \
    --robot.port=/dev/tty.usbmodem585A0076841  # <- paste here the port found at previous step
from lerobot.common.robots.giraffe_follower import GiraffeFollower, GiraffeFollowerConfig

config = GiraffeFollowerConfig(
    port="/dev/tty.usbmodem585A0076841",
    id="my_follower_arm",
)
follower = GiraffeFollower(config)
follower.setup_motors()
You should see the following instruction
Connect the controller board to the 'gripper' motor only and press enter.
As instructed, plug the gripper's motor. Make sure it's the only motor connected to the board, and that the motor itself is not yet daisy-chained to any other motor. As you press [Enter], the script will automatically set the id and baudrate for that motor.
Troubleshooting
If you get an error at that point, check your cables and make sure they are plugged in properly:
- Power supply
- USB cable between your computer and the controller board
- The 3-pin cable from the controller board to the motor
If you are using a Waveshare controller board, make sure that the two jumpers are set on the B channel (USB).
You should then see the following message:
'gripper' motor id set to 6
Followed by the next instruction:
Connect the controller board to the 'wrist_roll' motor only and press enter.
You can disconnect the 3-pin cable from the controller board, but you can leave it connected to the gripper motor on the other end, as it will already be in the right place. Now, plug in another 3-pin cable to the wrist roll motor and connect it to the controller board. As with the previous motor, make sure it is the only motor connected to the board and that the motor itself isn't connected to any other one.
Repeat the operation for each motor as instructed.
💡 TIP: Check your cabling at each step before pressing Enter. For instance, the power supply cable might disconnect as you manipulate the board.
When you are done, the script will simply finish, at which point the motors are ready to attach servo horns.
⚠️ WARNING: Do not move the servo shaft after configuration.
3. Attach Servo Horns
Attach servo horns according to the following table:
| Servo 1 | Servo 2 | Servo 3 |
|---|---|---|
 |  |  |
| Servo 4 | Servo 5 | Servo 6 |
|---|---|---|
 |  |  |
⚠️ WARNING: Do not move the servo shaft after servo horn installation.